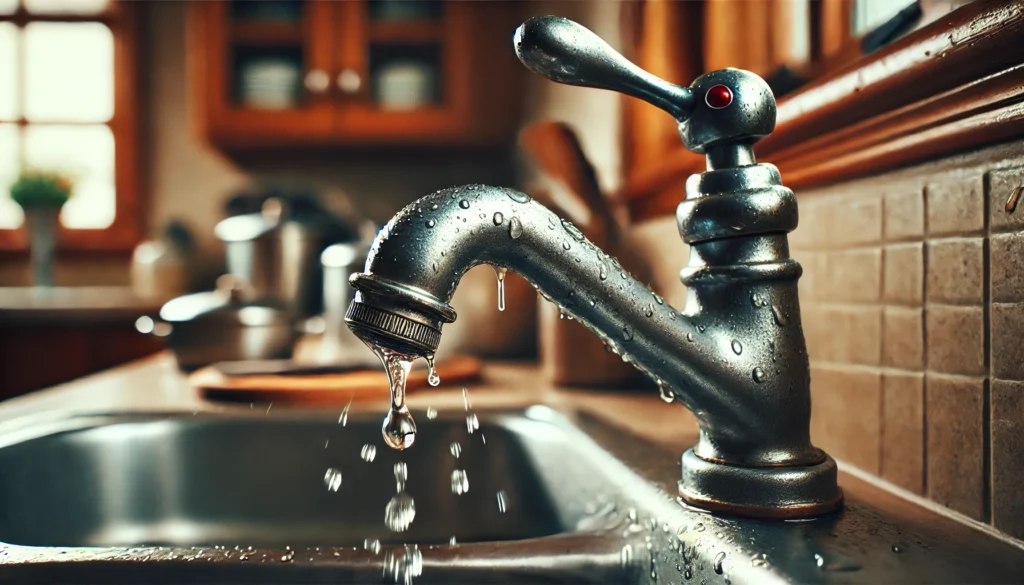
A leaky kitchen faucet may seem like a minor inconvenience, but if left unchecked, it can lead to a surprising amount of wasted water and a higher utility bill. If you’re asking yourself, “How to fix a leaky kitchen faucet?”, you’re in the right place. Whether it’s a constant drip or a steady stream, the fix can often be done yourself with the right tools and a bit of know-how.
In this guide, we’ll walk you through kitchen faucet repair step by step. From the common causes of faucet leaks to simple repairs you can do at home, we’ll cover everything you need to know. You’ll also learn how to stop a faucet from leaking, ensuring it works like new for years to come.
Why waste water and money on a leaky kitchen tap when you can easily fix it? By the end of this post, you’ll have a clear understanding of the problem and the solution—saving both water and your wallet.
What Causes a Leaky Kitchen Faucet?

Common Causes of Leaking Faucets
When your kitchen faucet starts leaking, it’s important to understand the cause. Leaking faucet causes can range from minor wear and tear to more serious plumbing issues. Here are the top reasons why your kitchen faucet may be leaking:
- Worn-out washers or O-rings
One of the most common reasons for a leaky faucet is a worn-out washer or O-ring. These small rubber components create a seal around your faucet’s moving parts. Over time, they can wear down or get damaged, causing water to leak. - Loose or Broken Faucet Parts
A loose faucet handle or broken valve can cause a faucet to leak at the base. Fixing kitchen faucet leaks at the base often involves tightening screws or replacing damaged parts to restore the seal. - Corrosion
Corrosion can build up inside the faucet over time, particularly if you have hard water. This buildup can damage the internal components, resulting in leaks. Kitchen faucet maintenance tips include using a water softener to reduce mineral deposits and prevent corrosion. - Cracked or Damaged Faucet Components
Sometimes, a faucet may leak because of cracked or damaged parts that can’t form a proper seal anymore. In such cases, kitchen faucet repair may require replacing the entire faucet or specific components. - High Water Pressure
High water pressure can cause your faucet’s internal components to wear out faster, leading to leaks. If you notice leaks after a recent pressure change, this could be the issue.
Tools You Need to Fix a Leaky Kitchen Faucet

Fixing a leaky faucet is simple once you have the right tools. Here’s a quick list of tools you’ll need for repairing a dripping kitchen faucet:
- Adjustable Wrench: To loosen and tighten nuts and bolts.
- Screwdriver (Flathead and Phillips): For removing faucet handles and accessing internal parts.
- Replacement Washers and O-rings: These are often the main cause of leaks and must be replaced.
- Plumber’s Tape: To seal any threaded connections and prevent leaks.
- Pliers: For gripping and adjusting faucet components.
- Cleaning Cloth or Towel: To wipe down parts and keep your workspace clean.
- Basin Wrench (Optional): Useful for reaching hard-to-access nuts under the sink.
How to Fix a Leaky Kitchen Faucet Yourself: Tools and Steps
Fixing a leaky kitchen faucet yourself can be a straightforward task if you have the right tools and follow the proper steps. This section will guide you through a DIY approach and highlight the essential tools you’ll need to get the job done.
Tools You’ll Need for the Job
Before you start, gather these basic tools and materials to ensure a smooth repair process:
- Adjustable Wrench: To loosen and tighten nuts and bolts.
- Screwdriver (Flathead and Phillips): For removing faucet handles and accessing internal parts.
- Replacement Washers or O-rings: These are often the main cause of leaks and must be replaced.
- Plumber’s Tape: To seal any threaded connections and prevent leaks.
- Pliers: For gripping and adjusting faucet components.
- Cleaning Cloth or Towel: To wipe down your faucet and work area while fixing the leak.
- Basin Wrench (Optional): Useful for reaching hard-to-access nuts under the sink.
Step-by-Step Instructions for DIY Faucet Repair
Follow these simple steps to fix your leaky kitchen faucet.
- Turn Off the Water Supply
- Locate the shut-off valves under the sink and turn them clockwise to stop the water flow. This prevents flooding while you work.
- Disassemble the Faucet Handle
- Use the appropriate screwdriver to remove the faucet handle. Check for screws hidden under decorative caps and carefully set the handle aside.
- Inspect the Internal Components
- Once you’ve removed the handle, inspect the valve stem, O-ring, and washers. If any of these parts are worn out or damaged, they will need to be replaced.
- Replace Damaged Parts
- Remove the old washer or O-ring and replace it with a new one of the same size. For damaged valve seats, consider using a valve seat wrench to remove and replace them.
- Reassemble the Faucet
- After replacing the damaged parts, reassemble the faucet in the reverse order of disassembly. Tighten all the parts carefully with a wrench, ensuring everything is secure.
- Turn On the Water and Test
- Once you’ve reassembled the faucet, turn the water supply back on and check for leaks. If the faucet is still leaking, you may need to double-check the parts or call a plumber for assistance.
When to Call a Professional for Kitchen Faucet Repair

When Should You Call a Plumber?
While many faucet leaks can be fixed at home, sometimes it’s best to call in a professional. Here are a few signs it’s time to call a plumber:
- Persistent Leaks: If your faucet continues to leak even after replacing washers and O-rings, the issue may be with the valve or other internal components.
- Low Water Pressure: If the faucet leak is accompanied by low water pressure, it could be a sign of a deeper plumbing issue.
- Corroded or Broken Components: If the faucet is damaged beyond repair, it may need to be replaced. A plumber can advise you on whether it’s worth repairing or replacing.
- Time and Convenience: If you’re unsure of the problem or don’t have the time for a DIY fix, professional help is a quick and reliable solution.
FAQ Section
Why is my kitchen faucet still leaking after I replaced the washer?
If the faucet continues to leak after replacing the washer, it could be due to a worn-out valve, damaged O-ring, or high water pressure. Inspect the valve and replace any other worn components.
Can I fix a leaky faucet without turning off the water?
No, always turn off the water supply before attempting to fix a leaky faucet to avoid flooding and accidents.
How do I know if I need to replace my faucet entirely?
If the faucet is corroded, cracked, or beyond repair, it’s time to replace it. A professional plumber can help you decide if the faucet needs to be replaced.
How can I prevent my kitchen faucet from leaking in the future?
Regularly maintain your faucet by cleaning it and replacing washers and O-rings every couple of years. Using a water softener can help prevent mineral buildup and corrosion.
Conclusion
A leaky kitchen faucet is more than just an inconvenience—it’s a waste of water and money. By following these simple steps for kitchen faucet repair, you can stop the drip and restore your faucet to working condition. If you’re not comfortable doing it yourself or the leak persists, affordable faucet repair services are available. Don’t let that drip continue; take action today to fix your faucet and prevent further issues.


